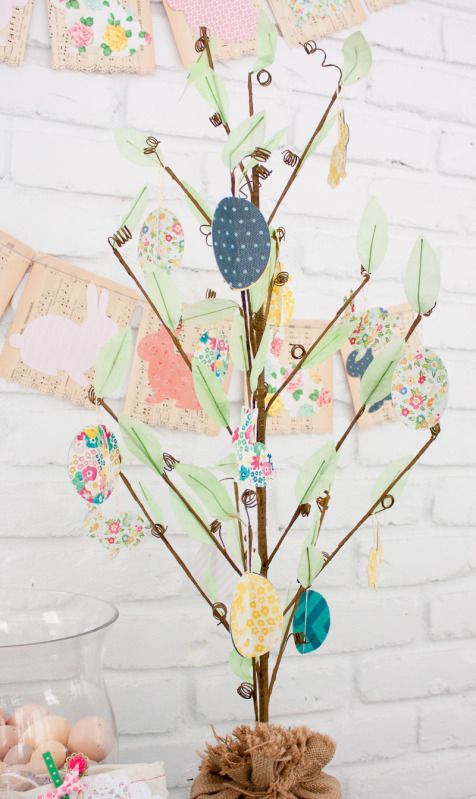
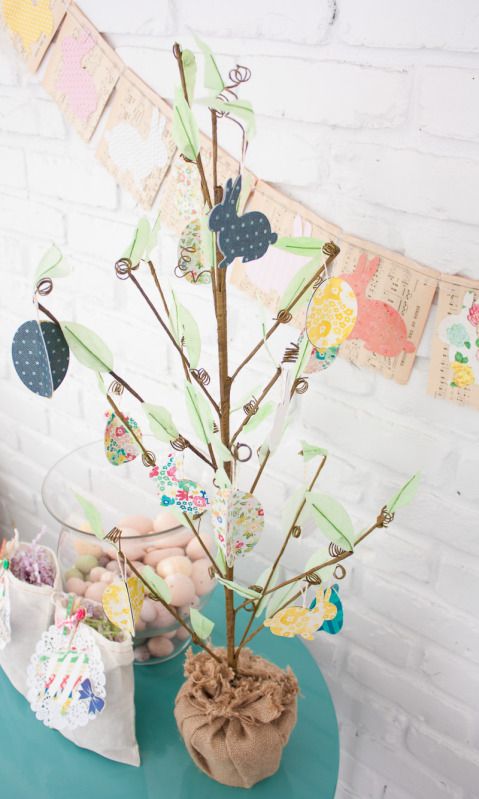
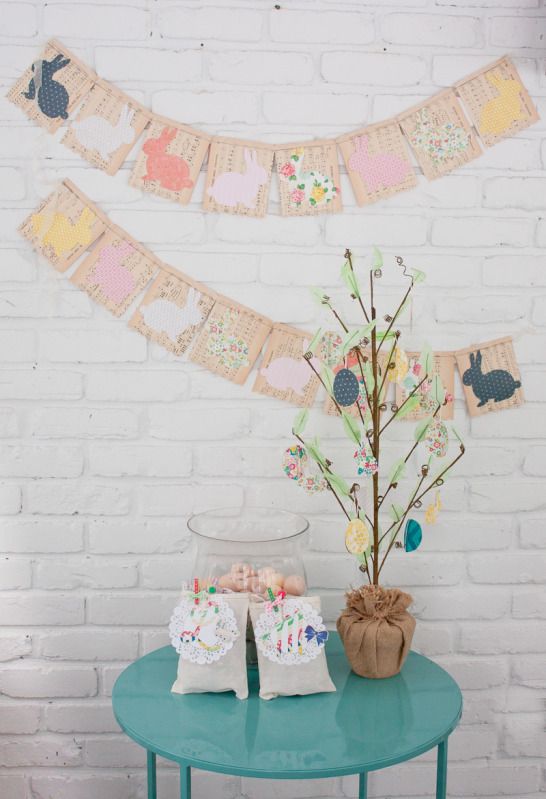
Hi Everyone! As promised, here are my super simple instructions for the three dimensional eggs I made for my Crate Style post!
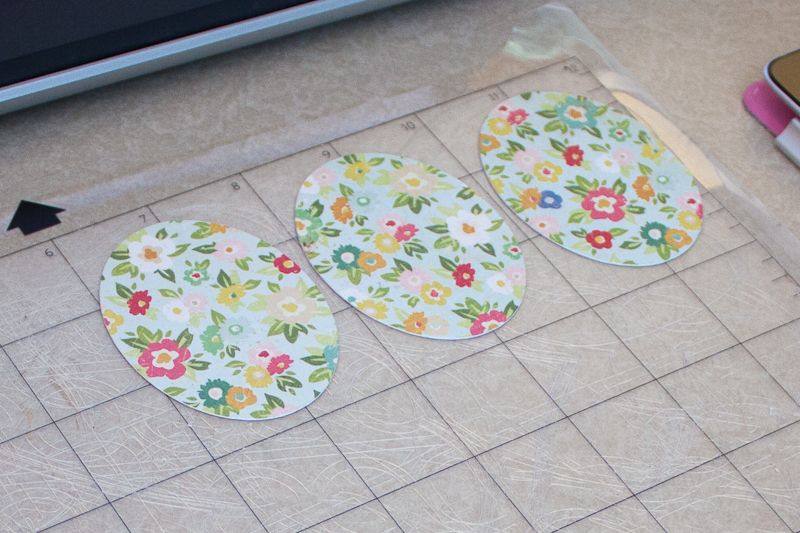
Step 1: Cut three ovals using your Silhouette or by hand. Make sure they are exactly the same size.
 Step 2:
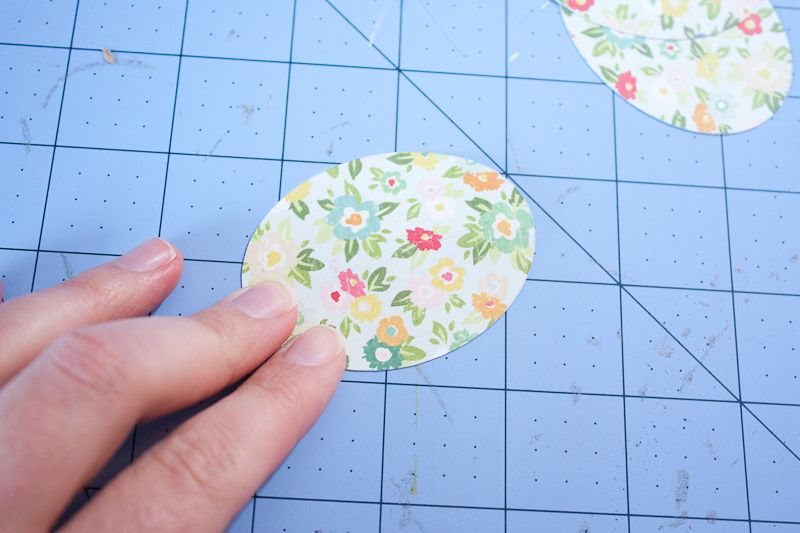
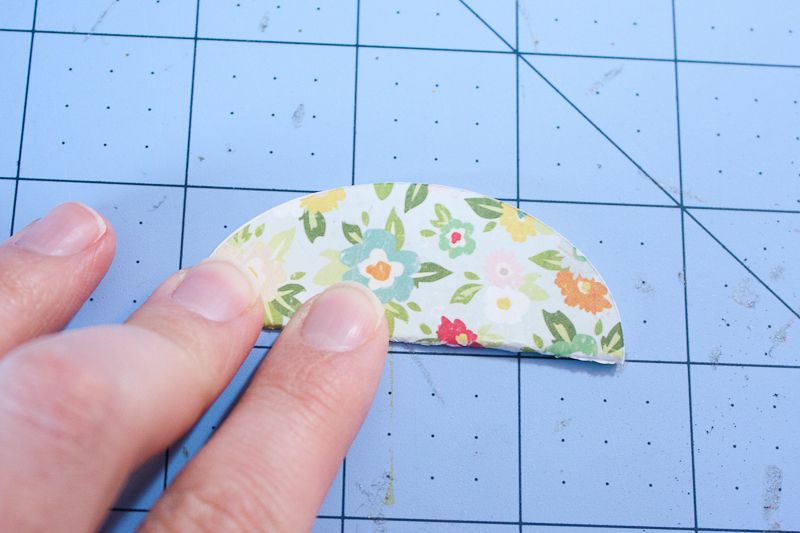
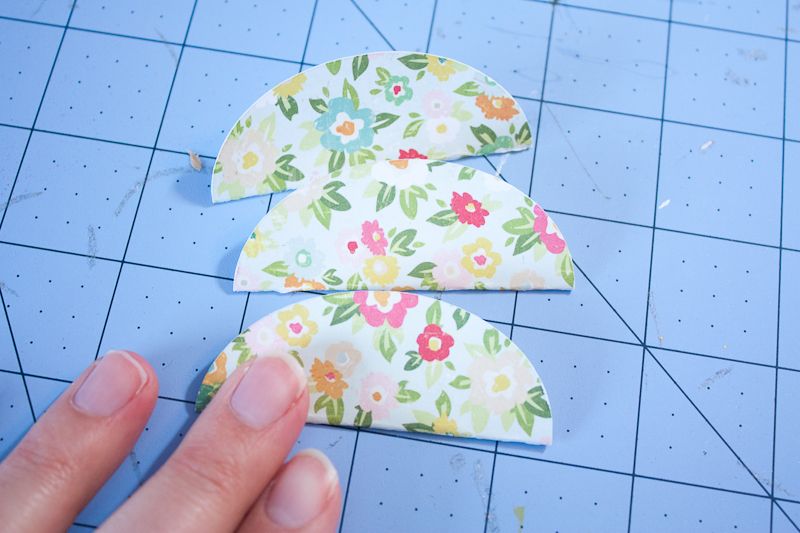
 Fold all three ovals length-wise, carefully lining up the edges. The side
inside the folded oval is the side that will show on your finished egg.
 Step 3:
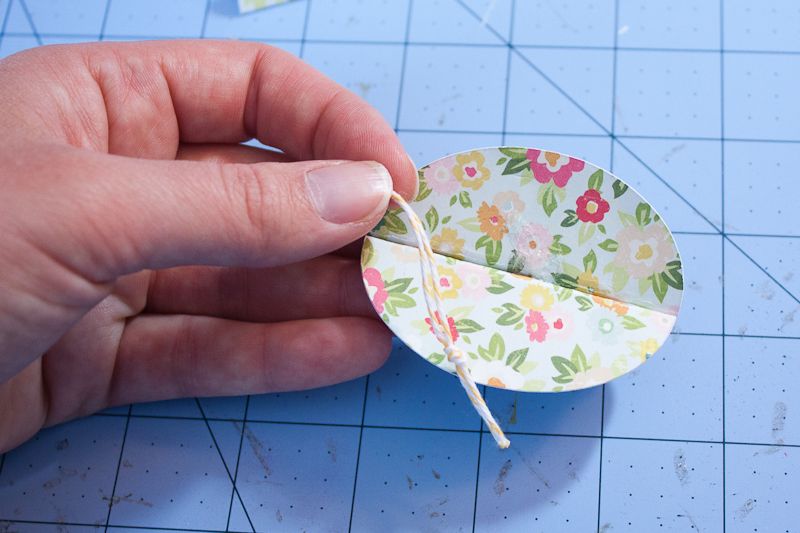
 Add adhesive to each oval along the edges and down the middle, then stick two ovals together as shown. Cut a six inch piece of twine and tie in a knot at one end to create a loop. Adhere the loop along the seam of the two ovals as shown.
 Step 4:
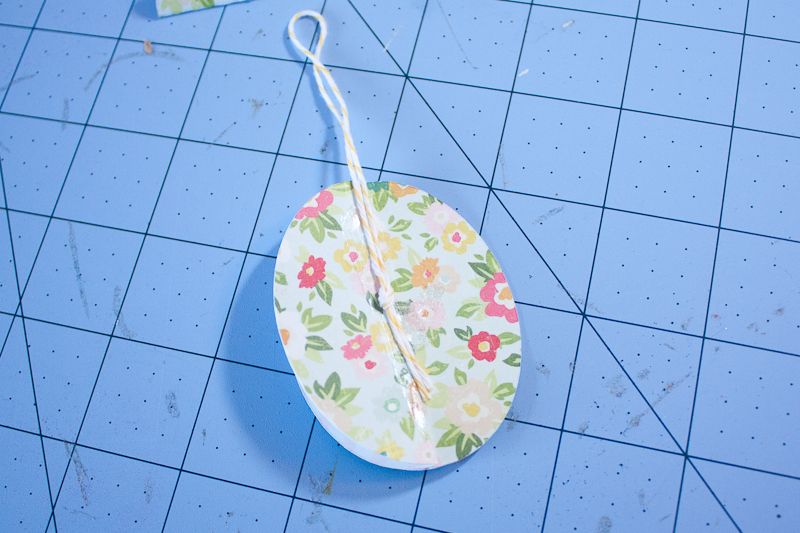
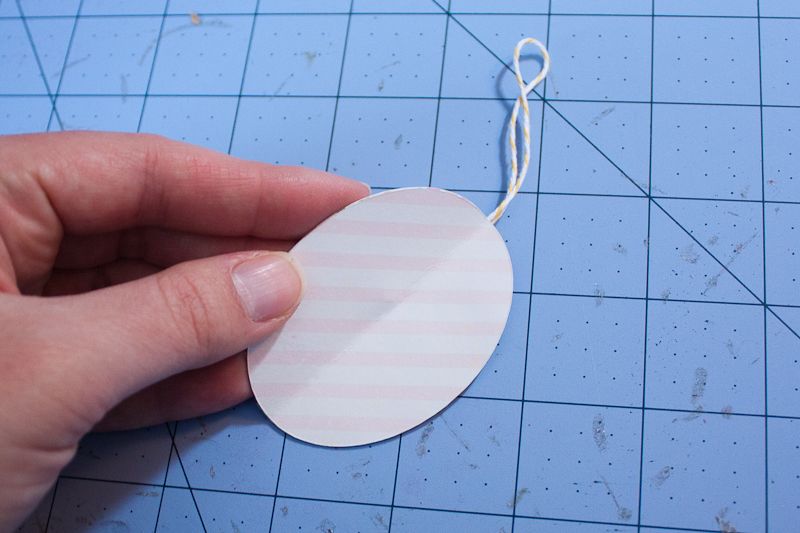
 Carefully align and adhere the final oval to complete your egg! Easy peasy, right??
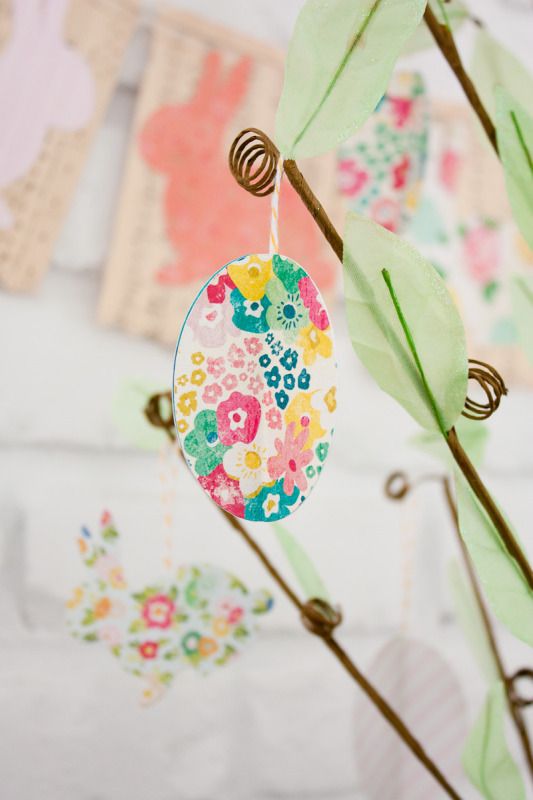
Thanks for stopping by today!

 Step 2: Fold all three ovals length-wise, carefully lining up the edges. The side inside the folded oval is the side that will show on your finished egg.


 Step 3: Add adhesive to each oval along the edges and down the middle, then stick two ovals together as shown. Cut a six inch piece of twine and tie in a knot at one end to create a loop. Adhere the loop along the seam of the two ovals as shown.

 Step 4: Carefully align and adhere the final oval to complete your egg! Easy peasy, right??


 Thanks for stopping by today!
you have inspired me to decorate for easter now
ReplyDeleteWhat a fabulous idea!!! Thanks for the inspiration! Happy Wednesday! :)
ReplyDeleteWould you share where you got the tree? Love this!!
ReplyDeleteThanks Haley! The tree is from Pottery Barn Kids--isn't it adorable?
Delete